Every smart home guide written in London or Portland tells you the same thing about bathroom fans: put a humidity sensor in there, turn the fan on above 70% RH, turn it off below 60%, enjoy your mould-free life.
Run that automation in a Singapore HDB and your fan will never switch off.
Singapore’s annual mean relative humidity sits around 84%, and the monthly averages barely move — roughly 83% in August at the dry end, up to 87% in December. Our outdoor air is already well past the point where those imported automations think there’s an emergency. Meanwhile the US EPA’s own guidance says to keep indoor humidity below 60% RH, and ideally between 30% and 50%, because that 60% line is where dormant mould spores wake up and start colonising grout.
So the advice is right — moisture feeds the black speckles creeping along your silicone — but the standard implementation is useless here. This is a guide to doing it properly: which parts to buy in Singapore, where they legally and physically go in an HDB bathroom, and the automation logic that actually works when the baseline is 84%.
Your exhaust fan is the dumbest appliance in your flat
Walk through the ventilating fan range on KDK’s Singapore site — the brand in roughly every second HDB toilet — and you’ll notice something. There isn’t a single Wi-Fi model. No app, no Matter, no Thread, nothing. The lineup is:
| Model | Mount | Price |
|---|---|---|
| 15WUD | Window | S$66 |
| 20WUD | Window | S$82 |
| 15WHPCT | Window | S$132 |
| 20WHCT | Window | S$182 |
| 20AUA | Wall | S$68 |
| 25AUA | Wall | S$78 |
| 30AUA | Wall | S$115 |
| 24CUH | Ceiling | S$178 |
| 24JAB | Ceiling | S$206 |
| 24CDH | Ceiling | S$218 |
(Prices as listed on KDK’s site at the time of writing; several models rotate in and out of sale pricing.)
These are excellent fans. They are also mains-powered lumps with a wall switch, and they will still be mains-powered lumps with a wall switch in 2036. Nobody is shipping a Matter firmware update for a sirocco fan.
That’s fine, and honestly it’s good news. It means the smart part is a separate, cheap, replaceable component, and you don’t have to throw away a perfectly good S$178 ceiling unit to automate it. You need three things: something that measures humidity, something that switches mains, and something to run the logic.
The automation everyone copies is broken here
Here’s the trap. You put a sensor in the bathroom, you set “if humidity > 70%, turn on fan.” In Singapore that condition is true on a rainy Tuesday afternoon when nobody has showered in nine hours. Your fan runs continuously, your electricity bill creeps up, the motor wears out early, and — the part people don’t expect — you’ve now got a fan pulling 84% RH outdoor air into your bathroom all day, which does nothing useful at all.
Invert the problem. You don’t care about absolute humidity. You care about whether someone just showered. There are two ways to detect that reliably.
Use a differential, not a threshold
Put a second humidity sensor somewhere neutral — the hallway, the bedroom, the living room. Trigger the fan when the bathroom reading exceeds the reference reading by 8–10 percentage points, and stop when the gap closes to 3 points or less.
This is self-calibrating. On a muggy December evening when the whole flat is sitting at 82%, a shower will push the bathroom to 95%+ and the differential fires. On a dry, air-conditioned afternoon when the flat is at 60%, the same shower produces the same gap. The automation doesn’t care what season it is.
Or trigger on rate of rise
The alternative: fire when humidity climbs more than 4 percentage points within five minutes. Showers are abrupt. Weather isn’t. This needs only one sensor, but it needs one that reports often enough to see the ramp — which is a real constraint, and we’ll come back to it.
Whichever you pick, add a run-on timer of at least 20 minutes after the stop condition is met. Bathroom moisture stays elevated for a good half hour to an hour after the water stops, most of it sitting in wet towels, a wet floor and warm tile. Cutting the fan the instant the sensor looks happy is how you end up with mould anyway.
The parts list
The humidity sensor
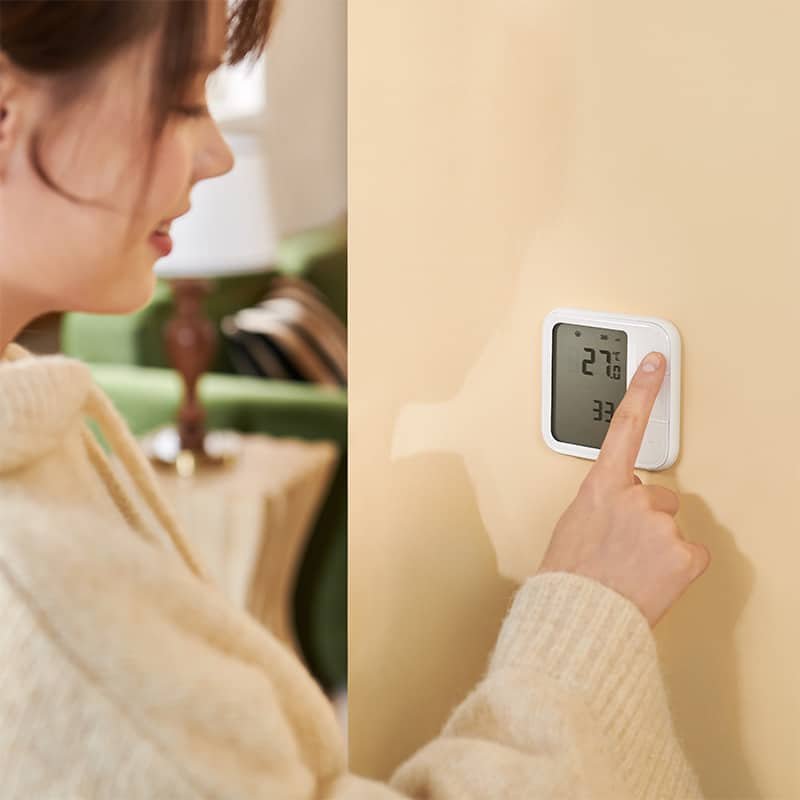
The Aqara Climate Sensor W100 at S$79 is the one I’d buy, and it’s the one I’d buy twice if you’re doing the differential approach. It runs either Zigbee 3.0 or Matter over Thread — you pick at pairing time — and it’s rated ±0.2°C and ±2% RH, with a measurement range up to 98% RH. That last number matters more than it looks: plenty of cheap sensors top out at 95% and just flatline during a hot shower, which quietly kills your rate-of-rise logic.
It’s an 86 × 86 × 13.65 mm panel with a 3.4-inch LCD, runs on two CR2450 cells for about 2.3–2.4 years depending on protocol, and has three programmable buttons on the front. Those buttons are a nice bonus — one of them makes a decent “boost the fan for 30 minutes” override for when someone’s been in there with a curry.
The alternative is SwitchBot’s Meter Pro line, which is well-reviewed and has a bigger, more readable display. I’d steer you away from it for this specific job, though. SwitchBot’s meters only reach Matter through a SwitchBot Hub, and the cloud path updates roughly every ten minutes. Ten-minute granularity is fine for a comfort dashboard and hopeless for detecting a shower. If you’re already deep in SwitchBot, the Hub 3 is the one with an actual Thread border router — but for fan automation, the W100’s local Zigbee or Thread reporting is the better tool.
The switch
You need something that can interrupt the fan’s live conductor. Three real options:
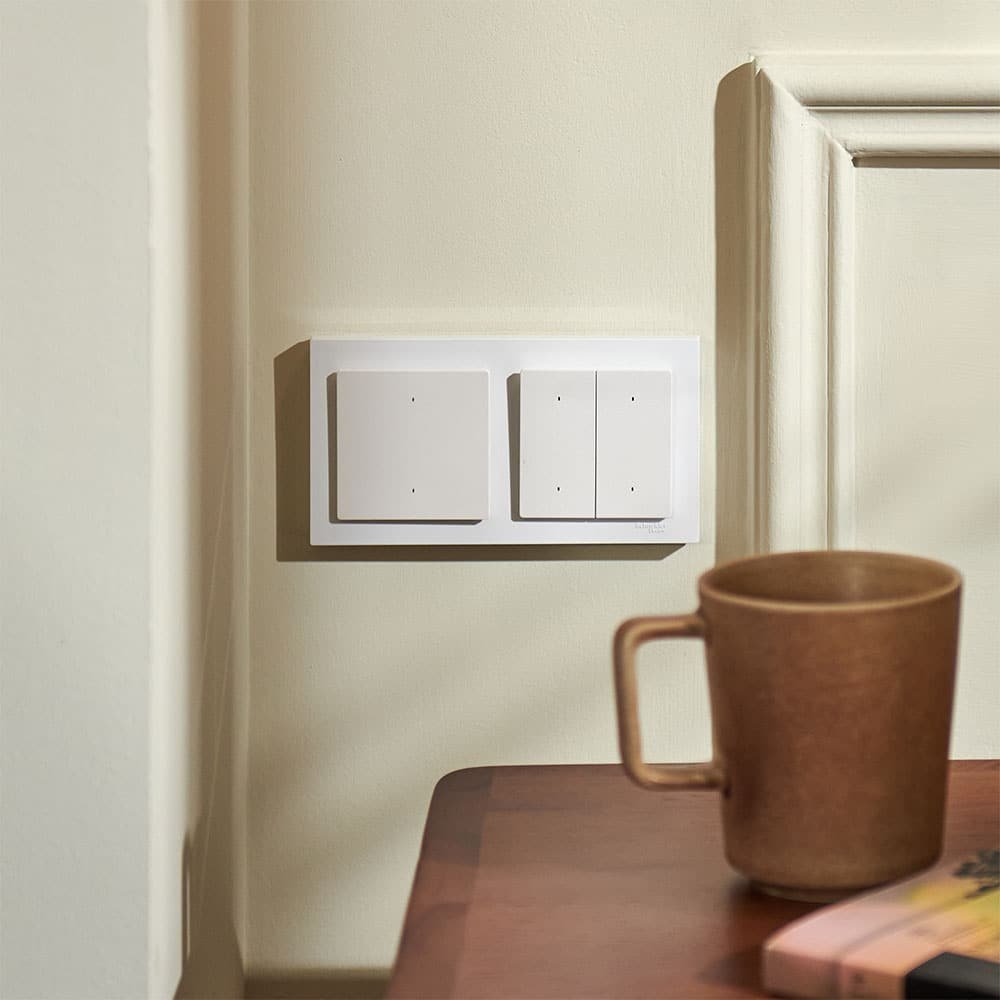
Aqara Dual Relay Module T2 — S$69. Zigbee, two channels, rated 100–250 V at up to 10 A, with a motor rating of max 1 A / ¼ HP. That’s comfortably above what a bathroom exhaust fan draws — for scale, Aqara’s own bathroom unit lists its ventilation mode at 20 W — but read the plate on your specific fan before you commit. Two channels means you can put the bathroom light on the other one, which is handy since they’re usually in the same gang. It also does power monitoring, so you can actually see whether the automation is firing. Caveat worth knowing: Aqara officially says the T2 requires an Aqara Zigbee 3.0 hub and doesn’t support third-party hubs. It is a standard Zigbee 3.0 device and the Home Assistant crowd runs it happily on Zigbee2MQTT, but if you want the supported path, buy the hub.
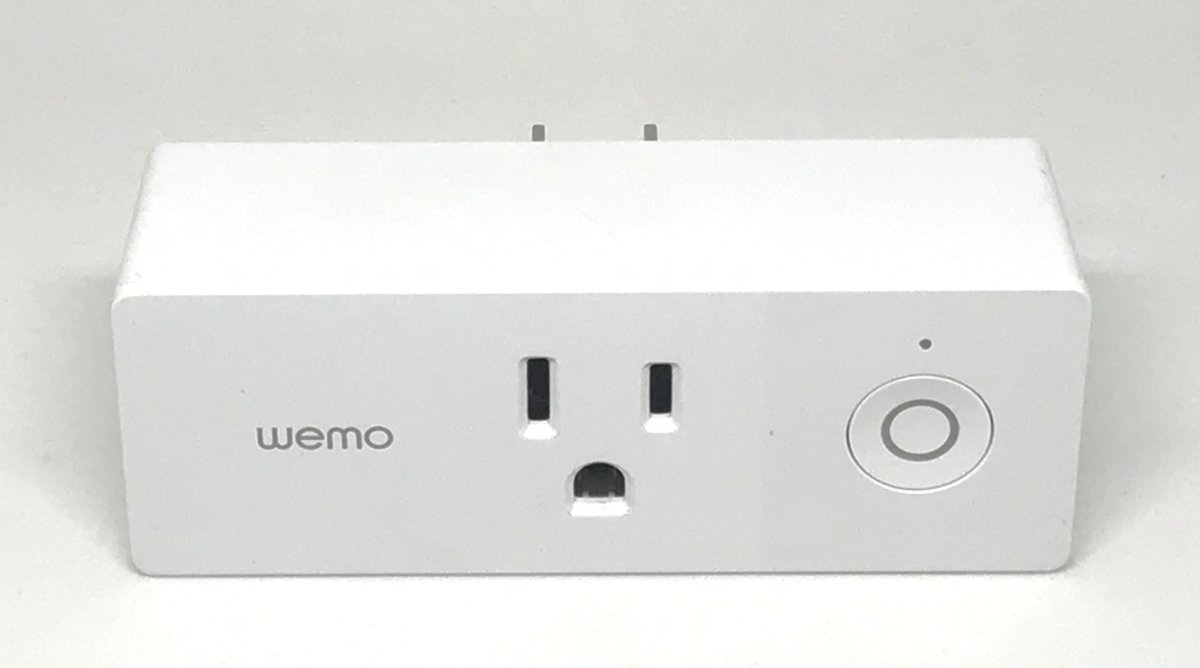
Sonoff ZBMINIL2 — the no-neutral option. Tiny (39.5 × 32 × 18.4 mm), Zigbee 3.0, rated 6 A, and it works without a neutral wire, which is the whole point. If your switch box has a neutral, the ZBMINIR2 is the same idea at 10 A.
This is the single biggest fork in the project, and it’s where a lot of Singapore projects die. Although we run a 230 V / 13 A system very similar to the UK’s, Singapore switch boxes typically do not carry a neutral by default — the switch loop is live-only. So assume no-neutral until an LEW confirms otherwise, and budget for the ZBMINIL2 rather than the R2. HomeSmart has a decent primer on neutral vs no-neutral smart switches if you’re not sure what you’re looking at.
Shelly 1 Mini Gen4 — the flexible one. 8 A at 240 VAC, dry contact, and it speaks Wi-Fi, Bluetooth, Zigbee and Matter — it ships in Matter mode and you flip it to Zigbee with five button presses. If you don’t want to commit to an ecosystem yet, this is the hedge. It also means no hub required if you go the Matter-over-Wi-Fi route.
The hub
If you’re going Zigbee, the Aqara M100 Hub at S$89 covers everything: Zigbee hub, Thread border router, and both a Matter controller and a Matter bridge. That combination means the W100 can join over Zigbee or Thread and still surface in Apple Home, Google Home or Alexa. If you’re already running Home Assistant on your own hardware, you can skip this and use a USB Zigbee coordinator instead — and you’ll get far better automation logic, because differential and rate-of-rise conditions are genuinely awkward to express in Apple Home or the Aqara app.
Where the relay actually goes — and where it must not
This is the part that gets skipped, and it’s the part that matters.
Do not put the relay inside the bathroom. The Aqara T2’s spec sheet lists an operating range of −10°C to 40°C and 0–95% RH non-condensing. A Singapore bathroom after a hot shower is condensing. Mount it in there and you’re not asking whether it fails, you’re asking when.
Fortunately, Singapore bathroom light and fan switches are commonly mounted on the wall outside the bathroom door. That switch box is dry, it’s on the right circuit, and it’s exactly where a 45 × 48 × 24 mm relay module wants to live. Check yours before you order anything — if your switch gang is inside a wet bathroom, the relay has to go at the fan end or at the distribution board instead, and that changes the job considerably.
The regulatory backdrop: SS 638:2018 replaced the old CP 5 as Singapore’s wiring code, and it mandates 30 mA RCD protection on bathroom final circuits, equipotential bonding in bathrooms and wet areas, and IP-rated fittings for wet zones. RCCB protection has been required on new residential installs since July 1985, so anything remotely modern already has it.
And the non-negotiable: anything behind the faceplate is work for a Licensed Electrical Worker. Not your renovation contractor’s helper, not you with a YouTube tab open. An LEW visit to fit a relay into an existing switch box is not expensive, and it keeps your insurance intact. If you’re planning this as part of a broader renovation, fold it into the smart home wiring checklist before the walls close.
The HDB paperwork nobody mentions
If you’re replacing the fan rather than just automating the existing one, there’s approval to think about.
Window-mounted fans: mounting a ventilation fan onto your window glass needs HDB approval, and HDB requires that only a registered builder or a trained window installer working under an approved window contractor may modify windows in a flat. The standard workaround the trade uses is to fit the fan to an acrylic board panel that drops into the window opening, leaving the window itself untouched — that route doesn’t need approval.
Ceiling-mounted fans: you cannot simply vent into the ceiling void. The air has to be channelled to an external wall or an existing ventilation duct. Newer BTO flats with a false ceiling usually have one. Older blocks from the 1970s and 80s often don’t, and drilling a new external opening means an application through HDB’s e-Service portal.
None of this affects you if you’re keeping the existing fan and just adding a relay behind the switch. Which is, for most people, the right call.
Putting it together
The working setup, in order:
- W100 in the bathroom. Mount it on the wall away from the shower spray and not directly above the door where the steam plume exits. Chest height on the wall opposite the shower is good.
- Second W100 (or any temp/humidity sensor) in the hallway as your reference, if you’re going differential.
- Relay in the switch box outside the door, fitted by an LEW, wired so the fan’s existing wall switch still works as a manual override. Do not create a situation where the fan is unreachable because the hub is down.
- Automation: fan ON when bathroom RH exceeds reference RH by 10 points. Fan OFF when the gap drops below 3 points and 20 minutes have elapsed. Add a hard maximum runtime — 45 minutes is sensible — so a stuck sensor can’t run the motor all night.
- Optional: occupancy trigger. An Aqara Motion and Light Sensor P2 (Thread, 7 m range, 170° coverage, roughly two years on two CR2450s) can kick the fan on the moment someone walks in, with the humidity logic taking over from there. It’s a comfort upgrade rather than a mould-prevention one.
That last point about manual override deserves emphasis. Automate the fan, don’t replace the switch. Somebody’s mother-in-law is going to visit and she needs the wall switch to work.
The all-in-one option
If you’re renovating anyway and the ceiling is open, the Aqara Bathroom Heater T1 collapses the whole project into one unit — light, heating, and ventilation in exhaust or intake mode, on Zigbee and Bluetooth 5.0, HomeKit-compatible. It’s rated 220 V / 50 Hz with 2,778 W of heating and 20 W of ventilation.
Two honest caveats. It’s sold as a professional installation product rather than off-the-shelf retail, so pricing is quote-based including install. And a 2,778 W bathroom heater solves a problem most of us don’t have — the drying function is genuinely useful for towels in this climate, but the heating is for people in Beijing.
What it costs, and whether to bother
Two W100s, a T2 relay, an M100 hub and an LEW call-out lands you somewhere around S$320–400 all in, assuming you keep your existing fan. Strip it back to one sensor, a Sonoff ZBMINIL2 and an existing hub and you’re closer to S$130.
Is it worth it? If your bathroom has an external window that you actually leave open, probably not — cross-ventilation is free and you already have it. If you’ve got a windowless internal bathroom in a newer flat, or a toilet window you keep shut for privacy, this is one of the highest-value automations in the entire smart home catalogue. It runs completely in the background, it needs no interaction, and it targets a problem — regrouting and repainting a mouldy bathroom — that costs meaningfully more than the hardware.
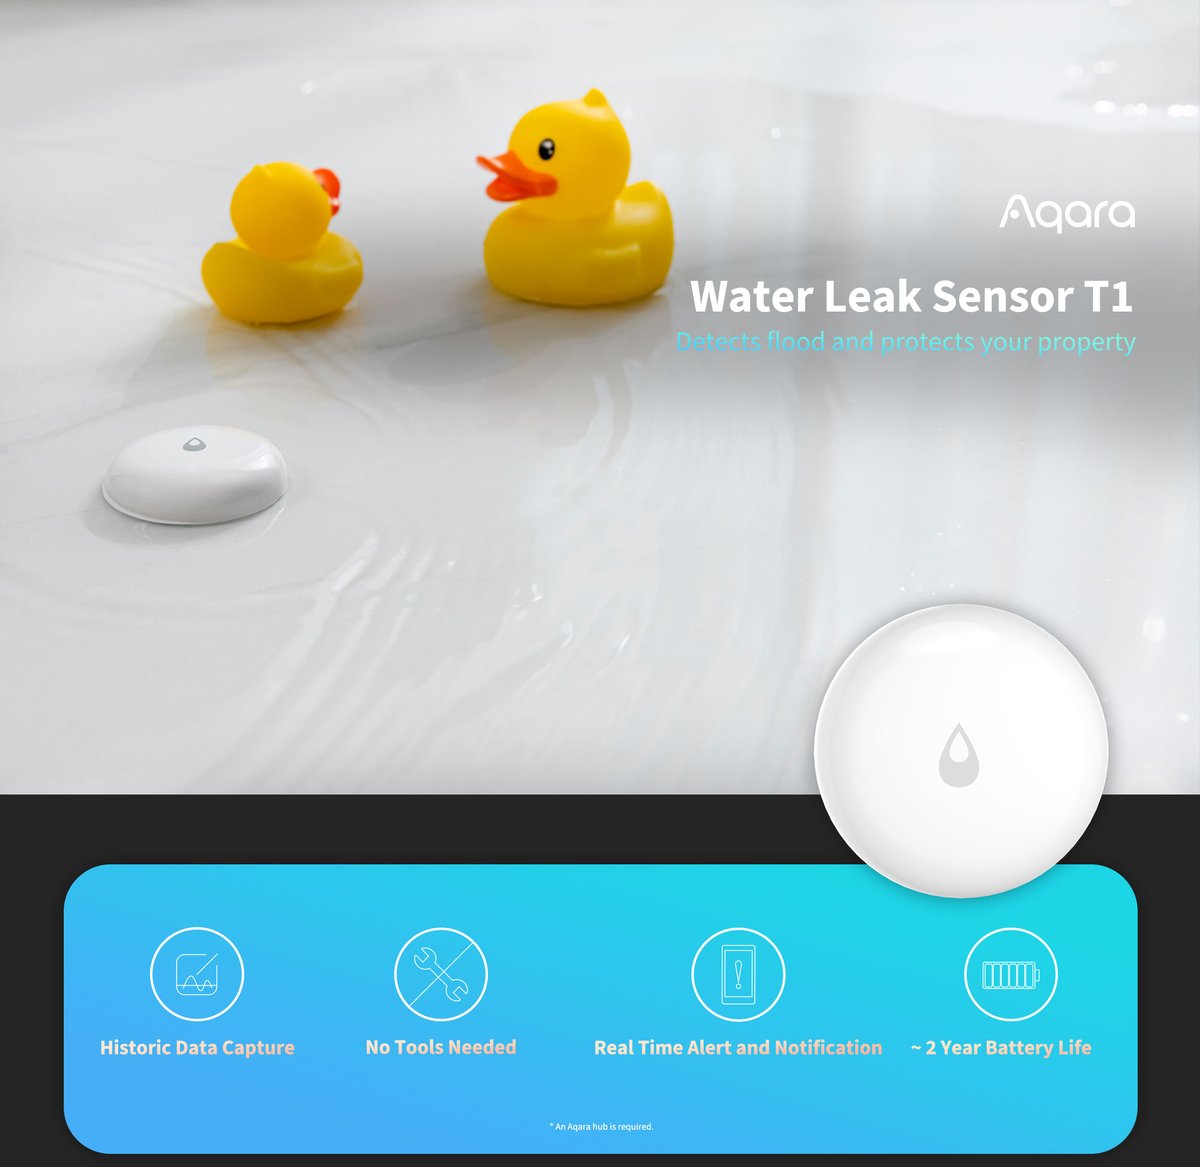
It also pairs well with the rest of the wet-area stack. A leak sensor under the basin costs almost nothing and catches the failure mode that actually destroys floors, and if the damp is a whole-flat problem rather than a bathroom one, a dehumidifier is the bigger lever.
The verdict
Buy two Aqara W100s and an Aqara T2. Have an LEW fit the relay into the switch box outside your bathroom door. Write a differential automation, not a threshold one, and give it a 20-minute run-on.
The tempting shortcut — one sensor, one threshold, copy the numbers off a British smart home blog — will produce a fan that runs constantly and a homeowner who concludes smart homes are stupid. The difference between those two outcomes is about ten minutes of thinking about what 84% ambient humidity actually means.