Every smart camera pitch in Singapore eventually arrives at the same fork in the road, and almost nobody talks about it honestly. You buy the camera, you mount it, you open the app — and then a screen appears asking for your credit card so you can watch back the clip you just recorded in your own home.
That is the real decision. Not 2K versus 4K, not colour night vision. The question is: where does your footage actually live? Get that wrong and you’re paying rent, forever, to watch your own front door.
2026 is a genuinely good year to answer that question properly. Frigate’s hardware story finally settled after a messy year, Ubiquiti dropped a camera generation that does its AI on the camera itself, and Matter 1.5 cameras started landing in Home Assistant. Meanwhile cloud plans went the other direction — Google pushed Nest Aware from US$8 to US$10 a month, and Nest Aware Plus from US$15 to US$20. Ring’s top Home tier sits at US$20 a month. Over a five-year stay in a flat, that’s the cost of a serious local setup, spent on nothing you keep.
Here’s how to build a camera system in an HDB or condo that records locally, costs nothing per month, and — importantly — won’t get you a letter from your Town Council.
First: What You’re Actually Allowed to Install
This trips up more Singaporean homeowners than any technical spec, so let’s clear it before spending money.
Since May 2023, HDB flat owners no longer need HDB’s approval to install a corridor-facing camera inside their own unit. Mount it behind your gate, in your own window, on your own door — that’s yours, and it’s fine. SingaporeLegalAdvice’s rundown is the clearest plain-English summary of the current position.
The moment the camera touches common property — the corridor wall, the ceiling outside your gate, the riser — the rules flip. That’s Town Council territory, and installing a fixture there without written authorisation can attract a fine of up to S$5,000. Condo owners face the same logic through their MCST by-laws.
Two more things worth internalising:
- Your camera must not point at a neighbour’s door or windows. This isn’t a formality — surveillance disputes between neighbours fall under the Community Disputes Resolution Tribunals, and “my camera happens to see their gate” is a bad position to argue from.
- The PDPA doesn’t apply to you as an individual recording for domestic purposes. It regulates organisations. That’s a relief legally, but it also means nobody is policing whether your vendor’s cloud is well-run. Which is exactly why local storage is the better default.
The practical upshot: design for a camera that lives inside your boundary, angled to cover your own doorstep. If you want something at eye level watching the gate without drilling into common property, our digital door viewer guide covers the peephole-replacement route.
Tier 1: Storage Inside the Camera
The simplest local setup is a camera that records to its own storage. No hub, no server, no network shares. For a one- or two-camera HDB, this is often the correct answer, and people over-engineer past it.
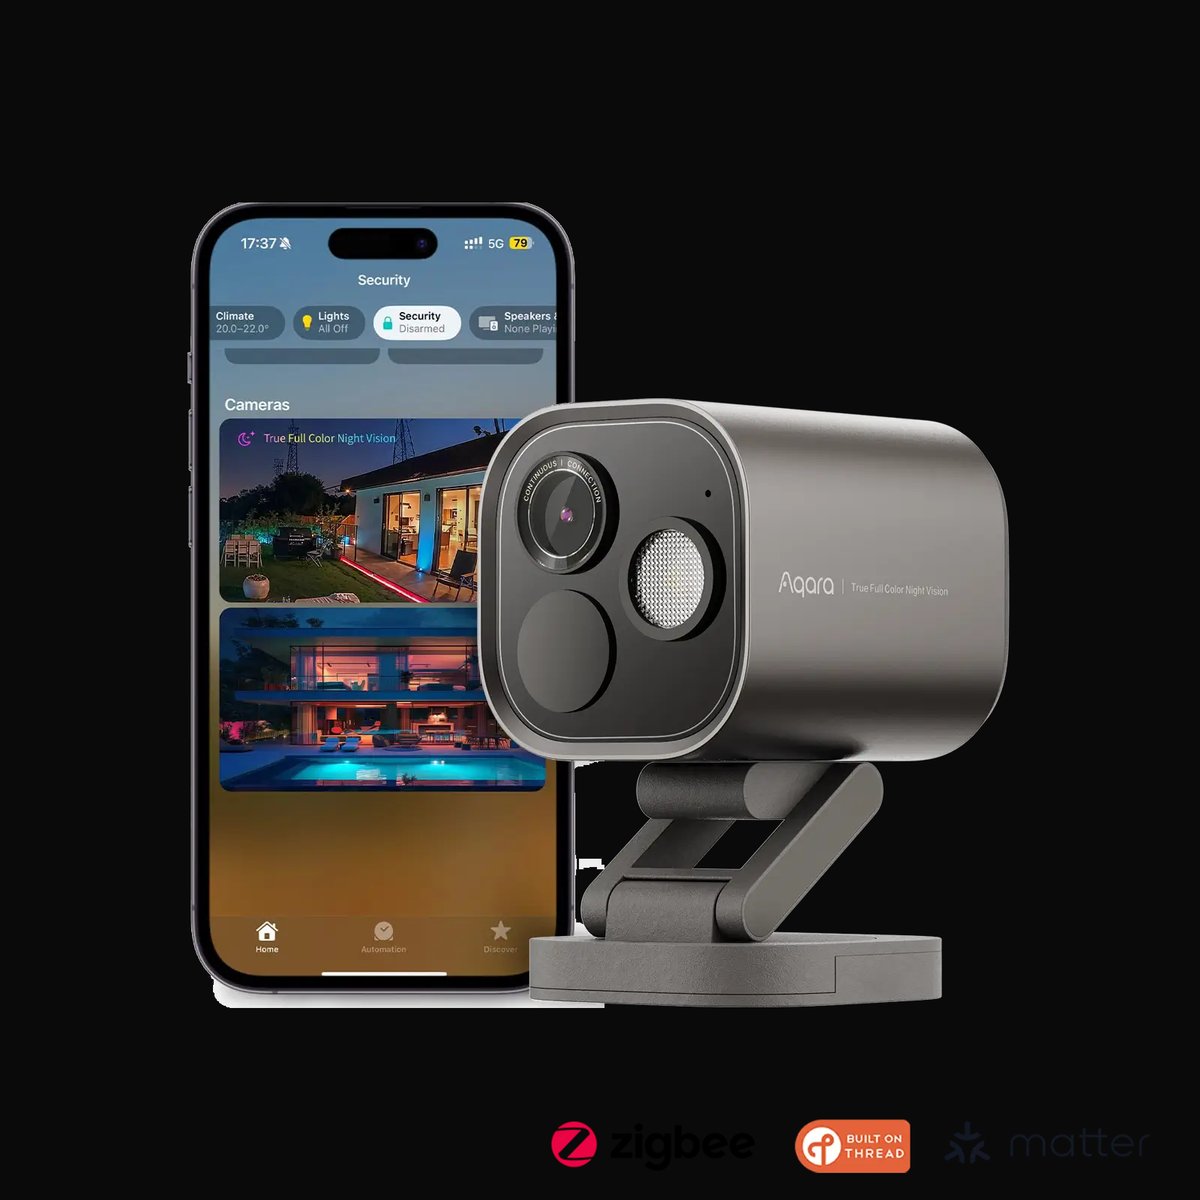
The current standout is the Aqara Camera Hub G5 Pro, which in Singapore runs roughly S$399 to S$469 depending on variant — you’ll find it at HomeSmart, which lists both versions.
Per Aqara’s official specs, you get a 2688×1520 (4MP) sensor at f/1.0 on a 1/1.8" chip with true colour night vision from a 3W spotlight, IP65 weather sealing, and a 133° diagonal field of view. Storage-wise it carries 8GB of encrypted eMMC onboard, takes a microSD card (not included), and — this is the part that matters — supports SMB NAS backup and RTSP streaming.
That RTSP support is the escape hatch. It means the G5 Pro isn’t a dead end: start with it standalone, and if you later build a proper NVR, the camera feeds straight into it. Very few consumer cameras in this price bracket let you do that.
The G5 Pro also doubles as a Zigbee hub and Thread border router, and works as a Matter controller. If you’re already running Aqara sensors, you’re collapsing two boxes into one. HomeSmart’s Aqara camera comparison guide is useful for working out whether you need the G5 Pro or whether a cheaper indoor model covers it.
One genuine caveat: the 8GB of internal eMMC is a buffer, not an archive. Treat the microSD or the NAS target as your actual storage. And be honest about microSD lifespan — cards doing continuous writes in a Singapore corridor at 32°C are consumables. Buy high-endurance cards, and expect to replace them.
The Apple angle: if you’re in the Apple ecosystem, the G5 Pro supports HomeKit Secure Video, which analyses events locally on your Apple TV or HomePod with end-to-end encryption. It’s technically cloud storage, but it’s storage Apple can’t read, and it comes bundled with iCloud+ rather than as a separate camera tax. Reasonable middle ground.
Tier 2: A Hub That Holds the Footage
Once you’re past two or three cameras, per-camera storage gets annoying — separate cards, separate timelines, separate failure points. A base station consolidates it.
Reolink’s Home Hub series is the sensible middle tier here. The standard Home Hub handles up to 8 cameras with dual microSD slots taking up to 1TB each, on Wi-Fi 6, with encrypted local storage and no monthly fee. The Home Hub Mini does 8 cameras with a single 1TB card slot.
Step up to the Home Hub Pro — listed at S$399 on Reolink’s Singapore store, though stock has been intermittent — and you get a built-in 2TB hard drive expandable to 16TB, a 512GB microSD slot, and support for up to 24 cameras (12 of them wired). For a landed home or a large condo, that’s a full CCTV system with zero subscription.
The trade-off with hub-based systems is honest lock-in: Reolink hubs want Reolink cameras. You’re not mixing brands. In exchange you get something that works out of the box, which — if you don’t want a hobby — is worth a lot.
Note the physical reality of a spinning 2TB drive in a Singapore flat: it needs airflow. Don’t shove it in the bomb shelter with the door shut. That room is a heat trap, and it’s where household electronics go to die early.
Tier 3: A Real NVR
This is where you stop buying a product and start building a system. Three routes.
UniFi Protect is the “expensive but it just works” option. Ubiquiti’s G6 camera generation, launched early 2026, moved smart detection onto a dedicated neural inference chip in the camera itself — roughly double the AI throughput of the G5 line, per Ubiquiti’s own announcement. US pricing runs from around US$179 for the Wi-Fi G6 Instant through US$199 for a turret and US$279 for a dome. The UNVR Instant recorder is US$199 and includes a 4-port PoE switch, so a two-camera starter system is genuinely reasonable.
Everything records locally, there’s no subscription, and the app is the best in the category. The catch is that UniFi Protect is Ubiquiti-only — no ONVIF cameras from other brands, ever. You’re marrying the ecosystem.
Synology Surveillance Station is the option for people who already own a NAS. It’s mature, it takes ONVIF cameras from anyone, and you’re reusing hardware you already run. Check your camera licence count before assuming it’s free — the bundled licences are limited.
Frigate is the enthusiast pick, and 2026 is the year to reassess it, because the hardware advice changed completely.
For years the answer was “buy a Google Coral TPU.” That’s over. The Coral’s gasket driver was archived on GitHub in April 2026 and no longer builds cleanly on modern kernels, and Frigate’s own hardware docs now state plainly that the Coral “is no longer recommended for new Frigate installations, except in deployments with particularly low power requirements or hardware incapable of utilizing alternative AI accelerators.”
If you read a Frigate build guide written before 2026, ignore its shopping list.
What the docs recommend now:
- Intel OpenVINO on an integrated GPU — 6th-gen Intel or newer, plus Arc discrete GPUs and NPUs. Inference lands around 4–15ms depending on tier. The docs currently favour the Beelink EQ13 as a server. An N100-class mini PC handles several cameras on the iGPU alone, with no accelerator card at all. This is the easiest path.
- Hailo-8 / Hailo-8L for low-power builds. Roughly 7ms and 11ms per inference respectively on YOLOv6n. A Raspberry Pi 5 with the official 26 TOPS AI HAT+ (around US$190) is a tidy, silent, low-wattage NVR.
Frigate 0.17.2 shipped at the end of June 2026 and is the current stable release. If you run Home Assistant, Frigate installs as an add-on and its detections arrive as MQTT events your automations can act on directly — meaning “person at door after midnight” can trigger lights, not just a notification.
The requirement people miss: Frigate wants an Intel CPU with AVX and AVX2 support. Old repurposed laptops often fail this. Check before you commit.
The HDB Wiring Problem Nobody Mentions
Here’s where Singapore-specific reality bites. HDB flats have no structured cabling. There is no patch panel, no Cat6 to each room, no PoE anywhere. Every guide assuming you’ll run Ethernet was written for a house with a basement.
Your realistic options:
- Wi-Fi cameras. Easiest, but you’re loading your network with continuous video streams. If you’re already on a mesh system, check whether the backhaul can take it — our Wi-Fi 7 router guide covers what actually holds up under load.
- PoE, planned during renovation. If you’re renovating, this is the moment. Cat6 in trunking to the door area and the service yard costs almost nothing at reno stage and is nearly impossible to retrofit neatly afterwards. The G5 Pro’s PoE variant exists precisely for this.
- Powerline adapters. The fallback. Works acceptably within a single HDB distribution board; performance degrades badly if the path crosses circuits.
And one thing that’s non-negotiable for a local system: your NVR is now a single point of failure, and Singapore does get power dips. A camera that records to the cloud survives a blackout at your flat. A mini PC writing to a spinning drive does not — it can corrupt its filesystem. Put the recorder and your router on a UPS. See our UPS guide for sizing, but a small unit covering router plus NVR is enough.
Does Matter Change Any of This?
Partly. Home Assistant 2026.7, released 1 July 2026, replaced its Python Matter backend with a TypeScript matter.js server and reached Matter 1.5.1 compliance — which is what unlocks the camera, doorbell and closure device types. Matter cameras are real now, not theoretical.
But be clear about what Matter solves. It standardises discovery, control and streaming. It does not standardise storage. A Matter camera still records wherever its manufacturer decided it records. Matter certification is not a promise of local recording, and treating it as one is the most common misreading of the standard I see. Our earlier piece on Matter cameras versus HomeKit reality digs into where the gaps still are.
Check the storage spec. Every time. Regardless of the logo on the box.
What I’d Actually Buy
Renting, one camera, no drilling: A single G5 Pro on Wi-Fi with a high-endurance microSD, sitting inside your unit facing the gate. Roughly S$400 all-in, nothing monthly, and it packs into a box on moving day.
Owning an HDB, two to four cameras: Either a Reolink Home Hub with matching cameras if you want it to simply work, or — if you’re renovating anyway — Cat6 to two points and PoE G5 Pros feeding a small Frigate box on an N100 mini PC. The second is more work and considerably more capable.
Landed, condo, or genuinely serious: UniFi Protect with a UNVR Instant and G6 cameras. It costs more, it locks you in, and it is the least trouble per year of anything here. For outdoor placement specifics, see our outdoor camera guide.
If cameras aren’t really what you need: A lot of people buy cameras when what they actually want is to know a door opened. Sensors are cheaper, more private, and less legally fraught — see no-subscription alarm systems.
One Last Thing About Retention
Local storage means you own a retention policy, and most people never set one. Work out the actual maths before you buy: a 4MP camera on continuous record eats roughly 40–60GB per day depending on bitrate and scene activity. On a 1TB card, that’s around two to three weeks. On motion-only recording, considerably longer.
Two to three weeks is usually plenty — you notice a break-in within days, not months. But decide the number deliberately rather than discovering it when the footage you needed has already been overwritten.
That’s the trade the cloud was quietly making for you all along. Now you’re making it yourself, which is the entire point.