You get exactly one shot at this. Once the electrician’s chased conduits are plastered over, the false ceiling is up, and the carpenter has bolted a S$9,000 TV feature wall into place, the cost of adding a single wire goes from “S$80 while he’s already here” to “hack, rewire, skim, repaint, and live with a patch you’ll notice forever.”
Almost every smart home guide written for Singapore starts at the wrong end — which bulb, which hub, which lock. Those are all reversible decisions. You can return a bulb. What you cannot easily undo is the absence of a neutral wire behind your living room switch plate, or the fact that there’s no 13A socket anywhere near the top of your bedroom window.
So this is the other list: the infrastructure conversation to have with your ID and your electrician before the walls close. It’s mostly cheap. Some of it is free if you ask early enough. And it’s the difference between a home that quietly absorbs whatever smart gear you buy for the next fifteen years, and one that fights you every time.
First, the legal bit — because it constrains everything else
In Singapore you don’t get to run your own wiring. Under the Electricity Act, the Energy Market Authority requires electrical work at consumer premises to be carried out by a Licensed Electrical Worker (LEW). That covers more than you’d think: new wiring, rewiring, adding or moving socket outlets, adding lighting points, and any change to your consumer unit or circuit breakers. The LEW also has to test and certify the installation before supply is restored.
For most HDB flats a Grade 7 LEW is sufficient — domestic loads sit well under the threshold where you’d need a higher grade. Your renovation contractor will normally sub-contract one in, but ask for the licence number and check it on EMA’s ELISE portal. For resale flats, expect a Single Line Diagram prepared by the LEW as part of the permit submission.
Separately, HDB’s own renovation guidelines for building works govern what can be hacked and where, and you need an HDB-registered renovation contractor plus a permit for the works that require one. Renovating without either is an offence, not a technicality.
The practical upshot: everything below is something you request, not something you DIY on a Saturday. Which is exactly why you need to ask for it before the quotation is finalised, when adding a line item is a negotiation rather than a variation order.
1. Neutral wires to every switch point
This is the single highest-return item on the list, and it’s the one most people miss.
Older Singapore switch boxes typically carry only live and switched-live. There’s no neutral, because a dumb mechanical switch doesn’t need one — it just interrupts the circuit. But a smart switch is a small always-on computer sitting behind your wall, and it needs a permanent power path to keep its radio alive.
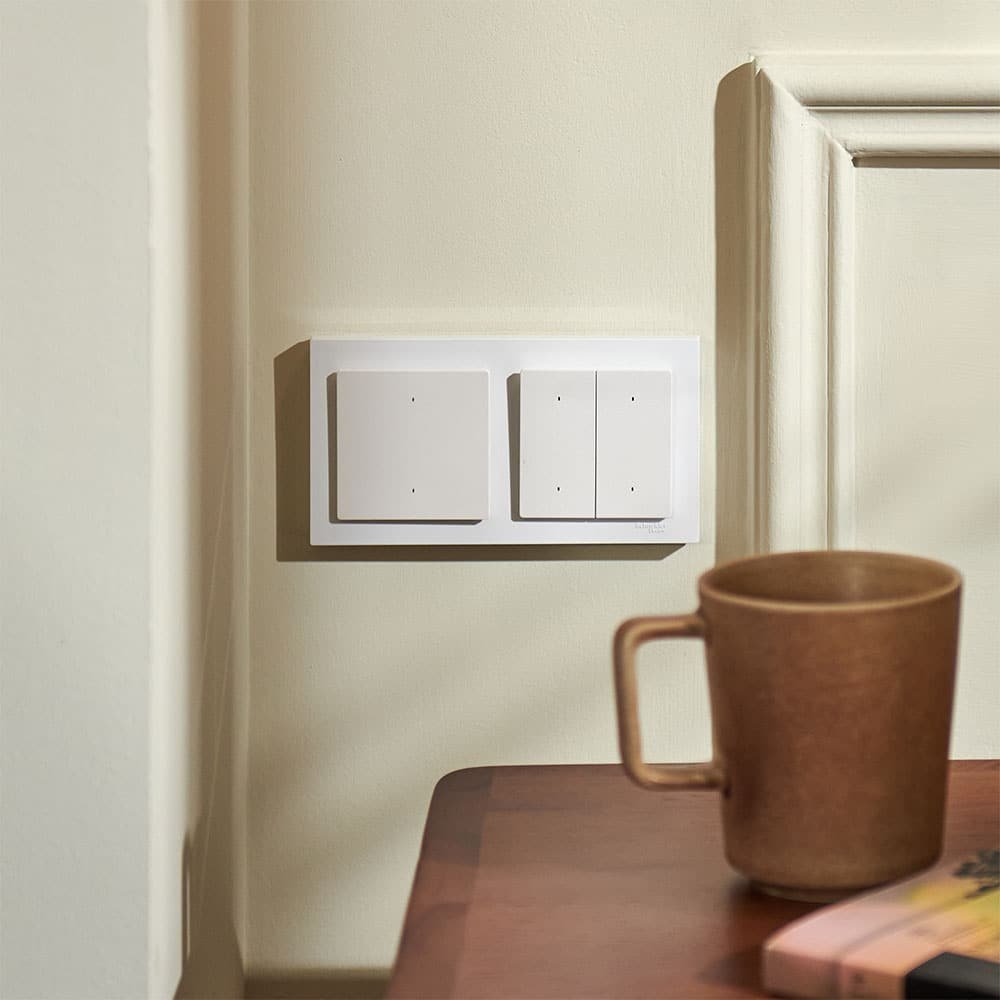
Manufacturers have gotten good at working around this. The Aqara Light Switch H2 — around S$83–93 in Singapore depending on whether you take the 2-button (1 channel) or 4-button (2 channel) version — is a genuine 2-in-1 design that installs with or without a neutral, and speaks both Matter over Thread and Zigbee. HomeSmart’s own neutral vs no-neutral explainer makes the fair point that for a lot of households, no-neutral is perfectly reliable and not worth a rewiring bill.
That’s true if you’re retrofitting. If your walls are already open, the maths inverts completely. Pulling neutrals to all switch points during a renovation is commonly quoted in the region of S$500–1,500, versus roughly S$60–130 per point to chase a new line later — and that “later” number ignores the plastering, painting and dust.
What neutral actually buys you:
- Any switch, any brand, forever. No-neutral compatibility is a feature vendors can drop. Neutral is physics.
- Power consumption monitoring. The H2 only reports energy usage on neutral installs. If you care about this, see our guide to whole-home energy monitoring in Singapore.
- Overload and overheat protection that actually works properly.
- A stronger mesh. Mains-powered switches act as Zigbee routers and Thread routers. Every one is a repeater punching through your concrete walls — which, as we covered in building a Matter mesh through HDB concrete, is the actual hard problem in local flats.
- No flicker edge cases. No-neutral switches trickle a small current through the fixture. With very low-wattage LEDs — under roughly 6W — that can cause a faint glow or flicker. Uncommon, but infuriating when it happens on your bedside light.
Say this to your electrician: “Pull neutral to every lighting switch box, and leave enough slack that a 40mm-deep smart module fits.” That second half matters — a shallow box with three stiff conductors crammed in is how you end up unable to close the faceplate.
One buying caveat: get the global version, not the EU one. The global H2 uses the square 86 × 86mm faceplate that drops into the standard Singapore single-gang backbox in HDBs, condos and landed alike. The EU variant is built around the round System 55 standard used with Gira and Merten frames, which is not what’s behind your wall here. SmartHomeScene’s teardown and review is a good independent read on how the dual Zigbee/Thread mode switching actually behaves. Either way: buy one, test-fit it in your actual box, then order the rest.
If you’re deciding between wiring approaches, our no-neutral Matter-over-Thread switch guide covers the retrofit path in detail.
2. Sockets in the six places nobody plans for
Smart home gear is not evenly distributed around a room. It clusters in specific, predictable spots that standard renovation socket layouts ignore entirely. At S$60–130 a point while the walls are open, these are close to free:
Above each curtain window, near the track end. Motorised curtains are the highest-satisfaction upgrade in a tropical flat — you wake up to light instead of an alarm, and you close everything against the afternoon west sun automatically. But motors like the Aqara Curtain Motor C3 run on 100–240V mains at around 14W, and they need a socket within cable reach. Nothing looks worse than a white flex dangling three metres down your feature wall. One concealed socket above the pelmet fixes it permanently. See our smart blinds and curtain motor comparison for which systems to pair it with.
Inside the TV console, not just behind the TV. Your streaming box, Thread border router, and game console all live here.
High on a wall, roughly central, for the hub. Border routers and Zigbee coordinators radiate badly from inside a cabinet or at ankle height. A socket at 1.8m in a corridor or living room corner is the ideal home for them.
In the kitchen at counter height, and one low for a robot vacuum dock. Dock placement is a load-bearing decision — you cannot move it later without a trailing cable across a walkway.
At the main door, inside. For a doorbell chime, a hub, or the transformer for a wired video doorbell.
Near the network cabinet. Which brings us to the next one.
3. Cat6A, and the household shelter problem
Wi-Fi is not a substitute for cable; it’s a delivery mechanism to a cable. Every access point, every mesh node worth its price, and every serious hub does better with a wired backhaul.
Run Cat6A — not Cat6, not Cat5e — to at least: the TV console, the study, one high point per bedroom wing for a ceiling or wall AP, and back to a single central location. Cat6A supports 10GbE over the distances found in any flat, and the cost difference over Cat6 is trivial compared to the labour you’re already paying for. And oversize your conduits. Pulling a second cable through a 25mm conduit that already has one in it is a five-minute job; pulling one through a full 20mm conduit is a demolition job.
Now the Singapore-specific trap: the household shelter. In flats built from 1996 onward, the fibre termination point and DB are frequently in or beside the shelter, and people naturally want to make it the network cabinet. HDB’s rules do not permit hacking or drilling the shelter’s reinforced walls, ceiling or floor. Only shallow inserts for removable fixtures are allowed — commonly cited as no deeper than 50mm — and the blast door, frame and ventilation plate cannot be altered or sealed.
That means no chased conduit into or out of the shelter. Your options are surface trunking through the existing door opening (ugly but legal and removable), or — better — plan the network cabinet outside the shelter from day one and have the LEW route the incoming fibre and a mains spur to it. Decide this before the carpenter builds cabinetry, not after.
Reinforced concrete on six sides also makes the shelter an RF dead zone. If you intend to use it as a store room with a sensor or camera inside, run a cable to just outside the door and put an AP there, or accept that nothing wireless inside will work reliably. Once your cabling plan is settled, our Wi-Fi 7 routers with built-in Thread border routers guide covers what to actually plug in, and the IoT network segmentation guide covers how to keep the cheap stuff away from your laptop.
4. The distribution board: leave spare ways
Ask the LEW for two or three spare ways in the consumer unit and a DB with physical room to expand. You will want them for a whole-home energy monitor with CT clamps, a future EV charger if you’re in landed property or a condo with a bay, or a dedicated circuit for something that doesn’t exist yet.
While you’re there: confirm dedicated circuits for each aircon indoor unit and the water heater. Storage heaters in particular pull hard, and hanging one off a shared lighting circuit is both unsafe and a guarantee that any inline smart switch you fit will be undersized.
Label the ways properly. In ten years the person tracing a circuit will be you, on a Sunday, with a torch.
5. Ceiling voids and junction boxes
If you’re doing a false ceiling — and most Singapore renovations do, to hide aircon trunking — you are creating the single most useful piece of smart home infrastructure in the flat, and most people waste it.
Ask for accessible junction boxes with a removable service panel above key fixtures. That space is where relay modules live. The Aqara Dual Relay Module T2 is the archetype: a two-channel Zigbee 3.0 module rated to 10A across both channels combined, which sits behind an existing dumb switch or fixture and makes it smart without changing anything visible. It requires a neutral (see item 1), needs an Aqara Zigbee 3.0 hub in range, and offers a dry-contact mode that’s genuinely useful for gates, motors and roller shades. Bridged through a Matter-capable Aqara hub it appears in Apple Home, Google Home and Alexa — though be aware the energy monitoring stays inside the Aqara app rather than being exposed to third-party ecosystems.
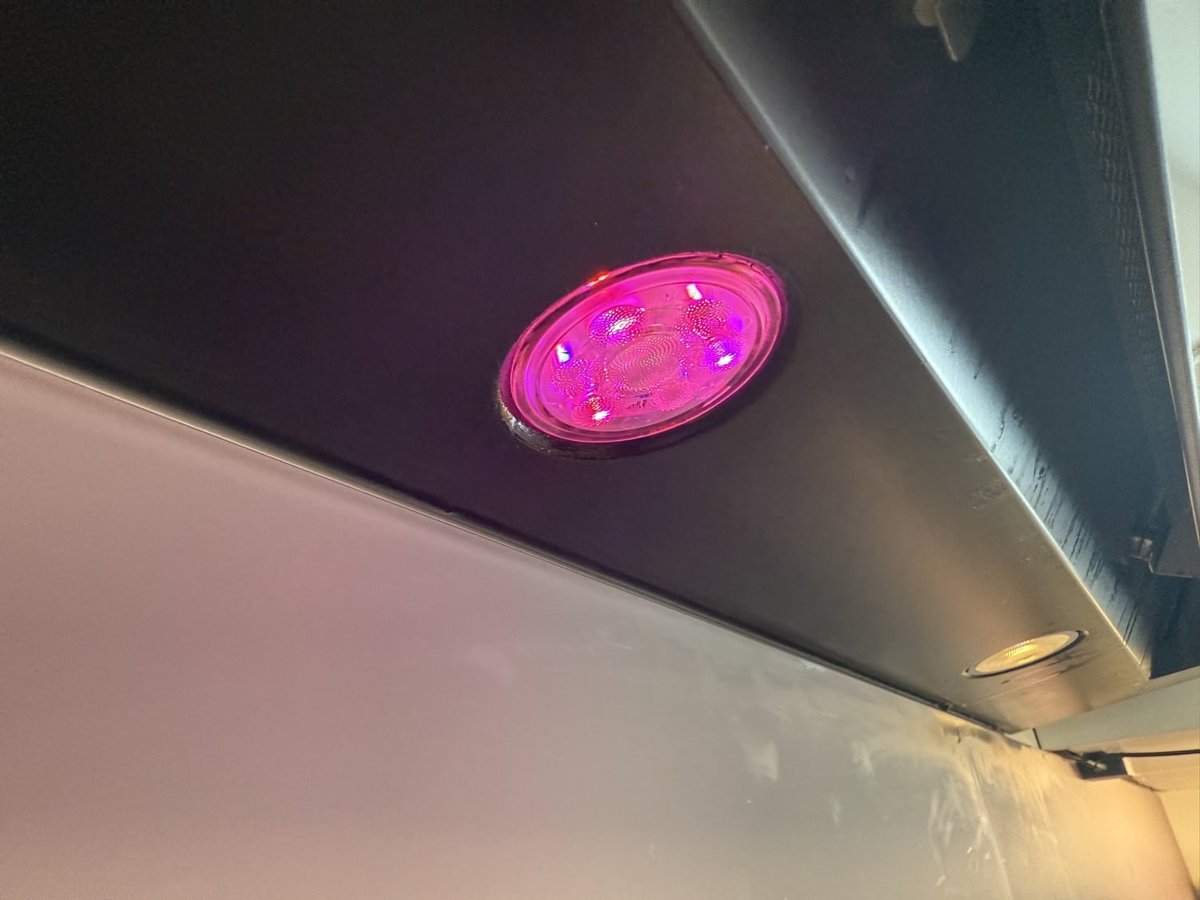
Two more ceiling-void asks: split your downlight circuits by zone rather than wiring the whole living room to one switch — scenes are only interesting if you can control groups independently — and keep the ceiling void ventilated and reachable. A relay you cannot get to is a relay you cannot replace. Our smart downlights guide for Singapore renovations goes deeper on fixture choice.
6. The door
If you’re changing the main door or gate anyway, this is the moment. Decide whether you’re going battery-powered or wired, because a wired video doorbell needs a transformer and a cable run to the door — trivial now, awkward later.
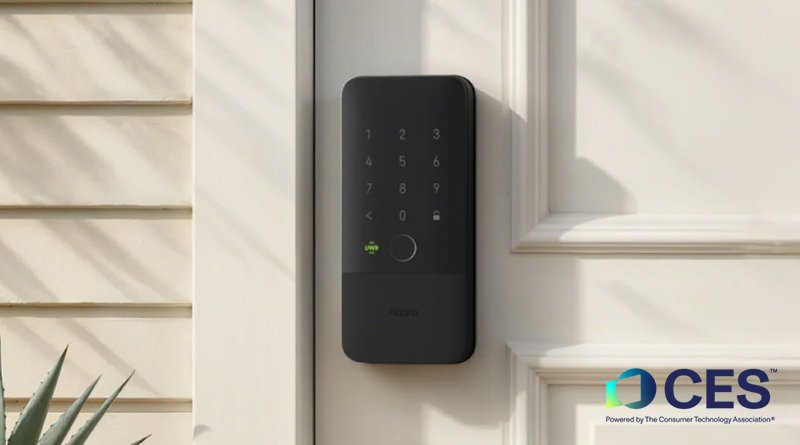
For the lock itself, the market has genuinely improved, but compatibility is still the trap: plenty of “smart” digital locks sold locally don’t speak Matter at all and live in a vendor app forever. We broke this down in digital lock vs smart lock for Singapore HDBs. At minimum, have the electrician leave a spare conduit or draw wire from the ceiling void down to the door frame.
What to skip
Some opinionated advice to save you money.
Don’t buy the ID’s proprietary “smart home package.” These are usually a rebadged Tuya or Zigbee kit at a heavy markup, locked to an app that may not survive the decade. Take the wiring, skip the devices.
Don’t hard-wire wall panels yet. In-wall touchscreen controllers look impressive in the showroom and date badly — they’re phones without an upgrade path. Leave a socket and a Cat6A drop at the spot you like, and mount something later if you still want it. Our touchscreen control panel roundup explains why the good ones are the ones you can replace.
Don’t pre-buy devices during renovation. Product cycles are twelve to eighteen months. Buy the wire now and the gadgets at handover.
The one-page checklist
Bring this to the electrician’s site walk:
- Neutral to every lighting switch point. Deep boxes with slack.
- Sockets: above each curtain window, in the TV console, high and central for hubs, at the robot vacuum dock, at the main door, at the network cabinet.
- Cat6A to TV, study, one AP point per wing, all home-running to a central cabinet. Oversized conduits.
- Network cabinet located outside the household shelter. No drilling the shelter.
- Two to three spare ways in the DB. Dedicated circuits for aircon and water heater. Labelled.
- Accessible junction boxes above the false ceiling. Downlight circuits split by zone.
- Spare conduit or draw wire to the main door.
Total incremental cost on a typical 4-room reno: somewhere between S$800 and S$2,000, most of it in the neutral pull and the network cabling. Against a renovation budget that routinely clears S$50,000, it’s rounding error — and it’s the only part of the job you genuinely cannot redo.
Get the wires right and every smart home decision after it becomes cheap, reversible, and yours to change your mind about. Which is, in the end, the whole point.